How I get Claude to edit my videos.
Six steps from a raw take to a finished video, with my kit: the files and commands I use.
Seven steps from a raw take to a finished reel, with my kit: the files and commands I use.
- Under two hours, start to finish
- The Claude desktop app, on Mac or Windows
- A free kit: 34 of my taste rules, 8 of my techniques and the commands
Why it matters
The kit is one folder: my taste rules, a style template and my library, plus the commands that use them. Claude Code is Claude that can run software on your computer. You install the app and open the kit. Claude installs everything else.
Do this
- 1
Download the Claude app
From claude.ai/download, for Mac or Windows. Install it and sign in. You need a paid plan, and Pro is enough.
- 2
Download my kit
Unzip it (on Windows, right-click it and choose Extract All; on a Mac, double-click it), then move the
ai-editing-kit.zipSend it to my computerai-editing-kitfolder somewhere easy to find, like Documents. - 3
Open the Code tab
In the Claude app, click the code button at the top left.

- 4
Choose the kit folder
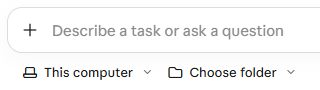
Under the message box, leave This computer as it is. Click Choose folder and pick
ai-editing-kit.
- 5
Type /setup
Type it in the message box and press Enter. The kit's commands come up in the list as you type.
/setup
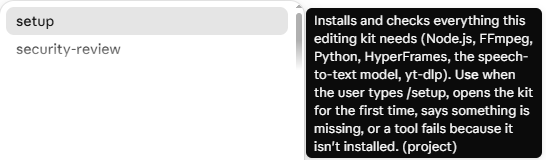
Claude checks your computer, makes a checklist and works through it: Node.js, FFmpeg, Python, HyperFrames (which turns Claude's edits into video) and the speech-to-text model. It tells you what each one is before it installs it, and finishes by rendering a 2-second test video.
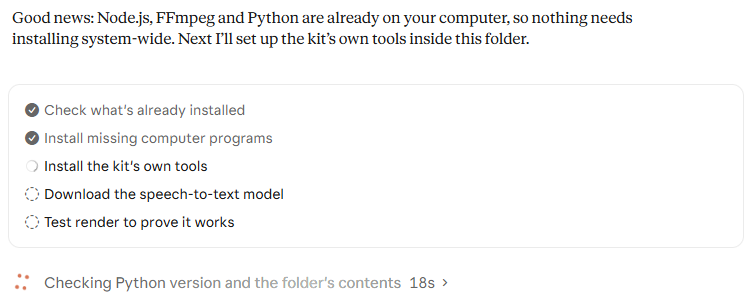
On Windows, it may ask you to quit and reopen the app halfway through. Do that, open the kit folder again and type
/setuponce more. On a Mac, if something needs your password, it gives you one line to paste into the Terminal app. It also adds HyperFrames' guides to Claude, which every project on your computer can use, and with an NVIDIA graphics card, a speed-up that makes transcribing several times faster.
You'll have
The kit open in Claude, with everything installed and tested. Claude ends with a short report of what it did and your next step.
Why it matters
This is the slowest part of editing by hand. Claude does it from the transcript, with the rules a good editor follows.
The ums and repeats are how Claude finds your mistakes. Speech-to-text normally tidies them away, so the kit tells it not to.
What Claude cuts
Everyone says taste is what makes Claude's edits good, but nobody shows you how to actually give it taste, so here's how in three.
retakeEveryone says taste is what makes Claude's edits good, but nobody shows you exactly how to do it, so here's how in three steps. I don't like that.
retakeEveryone says taste is what makes Claude edit good, but no one is…
false startEveryone says taste is what makes Claude's edits good, but nobody shows you exactly how to give it yours, so here's exactly how to do that.
retakeEveryone says taste is what makes Claude's edits good, but nobody shows you how to give it yours, so here's exactly how to give it in two… what.
false startEveryone says taste is what makes Claude's edits good, but nobody shows you exactly how to give it yours, so here's how in three steps.
keptThe real transcript of one of my raw takes: six tries at a reel's opening line. The kit kept the last complete one.
Do this
- 1
Film yourself
Talk to camera. When you fluff a line, pause and say the whole line again. Claude keeps your last take.
- 1
Film yourself, upright
On your phone, in 4K or 1080p at 30 fps. When you fluff a line, pause and say the whole line again: Claude keeps your last take. On an iPhone, turn off HDR video (Settings, Camera, Record Video). The kit converts it if you forget, but colours hold up better without it.
- 2
Say your hook two ways
Record your opening line two different ways. The kit makes two cuts, so you can post a second version with a new hook if the first one misses.
Drag the video into
videosThe folder inside the kit. Any file name is fine. Got screenshots or a screen recording of what you talk about? Put them in too: Claude uses real material before it draws anything.
Type /cut
Claude transcribes every word, then shows you each cut and the words it removes before it renders anything.
/cut
Watch
cut.mp4Click its name in the chat to watch it in the app. If a cut is wrong, say so in plain words: put back "that's the whole point" at 0:12.
You'll have
cut.mp4, a clean cut of your video, and its transcript.
cut.mp4, a clean cut of your reel, and cut-hook-b.mp4 with your other hook.
Why it matters
Most people ask Claude to make it look good, from scratch, every video. With nothing to work from, it falls back on its defaults, so every edit looks like a template.
With a style file, Claude never picks a font or a colour. The style already has, so every video looks like yours.
What goes in it
- TypeWhich fonts, which weights, for what.
- ColourOne accent, a danger colour, exact hex values.
- BackgroundsWhat sits behind a full-screen graphic.
- CaptionsSize, position, shadow, the accent word.
- The safe zoneCaptions clear of the app's buttons and caption.
- Numbers and titlesHow big, and what sits with them.
- NeverEverything that would break the look.
Do this
- 1
Find three videos whose look you love
Find three reels whose look you love
Copy their links. Or save the videos into the kit's
referencesfolder. - 2
Type /style with the links
Claude downloads them, pulls frames from each, measures the colours, writes your style file and downloads the fonts.
/style [link 1] [link 2] [link 3]
- 3
Make it yours
Read it and change anything that isn't you. Brand fonts and colours you already have win over the references: just tell Claude.
You'll have
style.md and its fonts in your kit. Every graphic from now on takes its look from them.
Why it matters
"Make it snappier" means nothing to Claude. "Entrances take 0.3 to 0.6 seconds and slow down as they land" does.
Rules only get followed when they're specific: seconds, sizes, named fonts. Adjectives get ignored.
From a note to a rule
"It needs to be styled somehow: drop shadow, gradient overlay, something."
A caption over footage is never plain white text: heavy type, a deep gradient from the bottom of the frame, a soft drop shadow, one accent word.
"Too playful." "Toyish."
No springy or bouncing entrances. Things come in on an eased drop or slide with no overshoot.
"Graphics held too long, and static."
Nothing on a graphic sits still for more than about 3 seconds. Build something new on it, or cut back to me.
"The captions are hidden behind the like button."
On vertical videos, captions sit just below the chin, and nothing goes in the right 15% or the bottom 20% of the frame.
Three of my notes, and the rules they became. My file is now over 300 rules long.
Do this
- 1
Start from my rules
34 of them, for cutting, captions, graphics and motion. They're already in your kit, as
CLAUDE.md. - 2
Watch every edit back
Tell Claude what feels off, in your own words, and let it fix it.
- 3
Make the fix permanent
Claude turns your note into one specific rule, checks it doesn't clash with the others, and shows you where it went.
/learn
You'll have
A CLAUDE.md that gets better with every edit you make.
Why it matters
This is the part almost nobody does. Each technique is decoded frame by frame from a video that's edited brilliantly: what it's for, which kind of line calls for it, and every step timed.
Claude picks from the library. It never makes one up. Mine has 145.
A real example
"…everything around one and a half million API keys, emails and private messages."
No. 4Speech-locked counter
- For
- A spoken number or percentage.
- When
- The count starts as the number is said and lands on the word that finishes the phrase.
- Steps
- The start value appears in one frame, with no fade. The count rushes through the middle and lands at about +1 s, with no pop.
"I've got over 145 techniques in there now, and I've written up eight of them for you to start with."
No. 4Speech-locked counter
- For
- A spoken number or percentage.
- When
- The count starts as the number is said and lands on the word that finishes the phrase.
- Steps
- The start value appears in one frame, with no fade. The count rushes through the middle and lands at about +1 s, with no pop.
Do this
- 1
Start from my techniques
Eight from my library, in plain words with their real timings. They're already in your kit, as
library.md. - 2
Find a moment you love
A zoom, a transition, a number that counts up. Copy the video's link and note where the moment starts and ends.
- 3
Type /decode
Claude pulls every frame of that moment, works out what triggers it and how long each move takes, and saves it to your library.
/decode [link] from [0:42] to [0:47]
- 4
Keep adding
Every time you see a moment you love in someone else's video, decode it.
You'll have
library.md, growing one technique at a time.
Why it matters
On a reel, the first two seconds decide whether anyone sees the rest. The hooks that work land one idea three ways at once: the line you say, the words on screen and the picture. If one of them is about something else, or arrives late, you lose people.
The same video with a new hook is the cheapest test there is. One creator in my niche reposted the same voiceover with a new opening picture and got six times the likes.
Two of mine
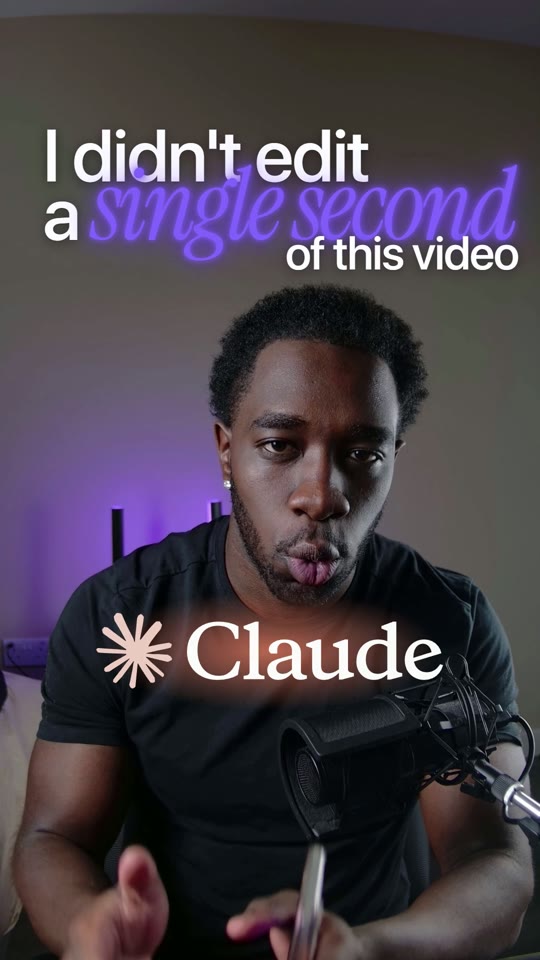
- Said
- "I didn't edit a single second of this video. Claude did."
- On screen
- The line as one block, "single second" carrying the weight, and Claude's logo landing on "Claude".
- Picture
- The video itself. The edit is the proof.
- Said
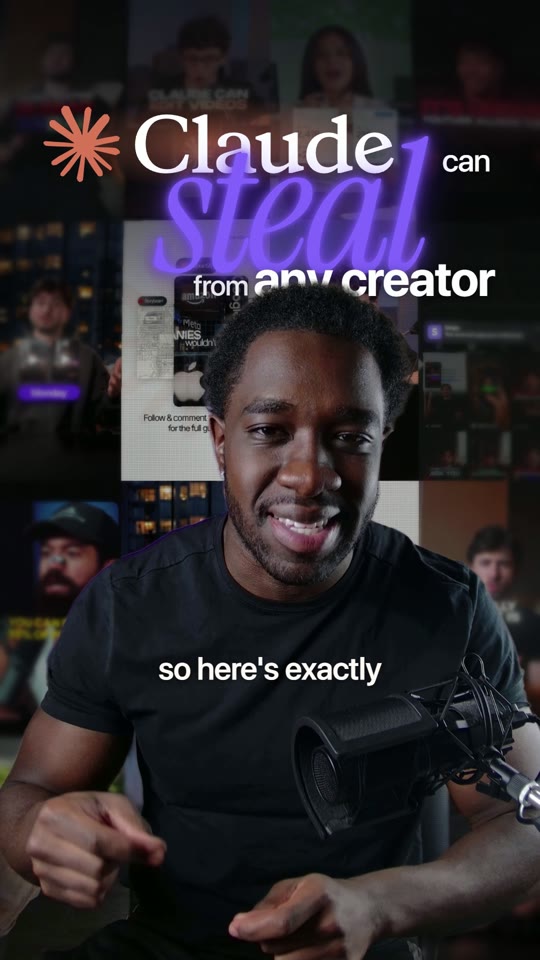
- "Claude can steal the editing from any creator that you know."
- On screen
- "Claude can steal from any creator", with "steal" carrying the weight. Words dropped to make the shape.
- Picture
- A wall of the creators' reels behind me.
Do this
- 1
Type /hook
Claude plans the line, the words on screen and the picture, timed to your voice, and shows you before it builds anything.
/hook
- 2
Give the words a shape
The hook's words are a lockup, not a caption: one phrase carries the weight, there are three sizes or more, and the lines lock into each other. If you have a shape in mind, sketch it in Paint and drop it in the video's folder. Claude follows it.
- 3
Make a second version later
Once the edit is finished,
/hook bbuilds the same reel with your other hook.
You'll have
hook.md: the plan for your first three seconds. The edit builds it first.
Why it matters
With your style, taste and library in the kit, one command does the edit. Claude shows you a plan first, so nothing gets built that you didn't agree to.
The plan looks like this
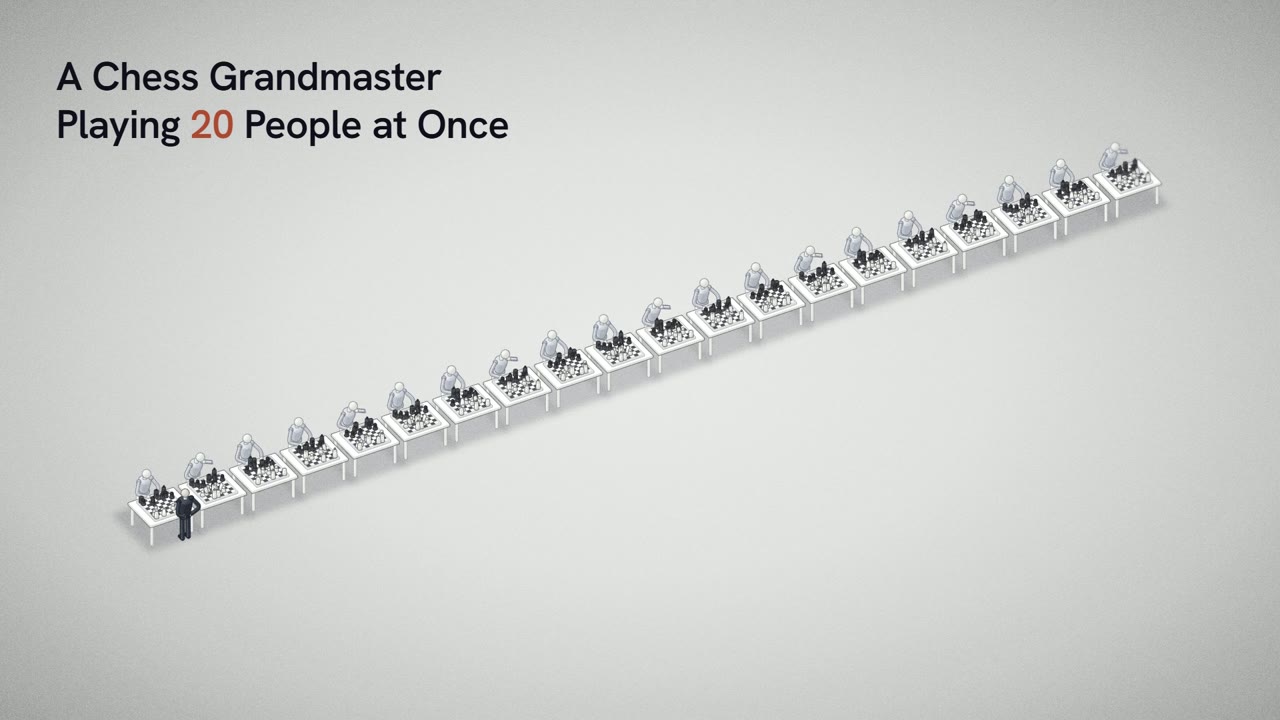
"Think about a chess grandmaster playing 20 people at once."
A scene that builds on the wordsThe boards fill in as the number is said.
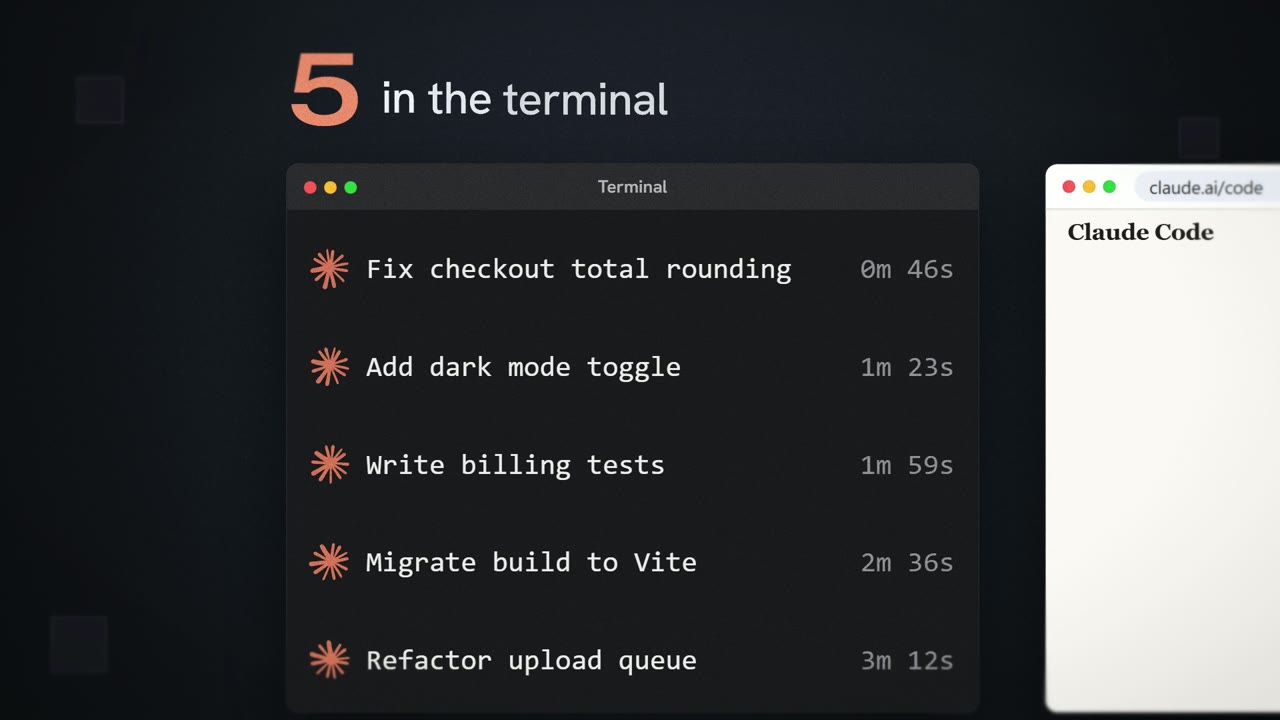
"They've got 5 sessions running in the terminal, and another 5 to 10 on the web."
A count that buildsEach session lands as it's counted.
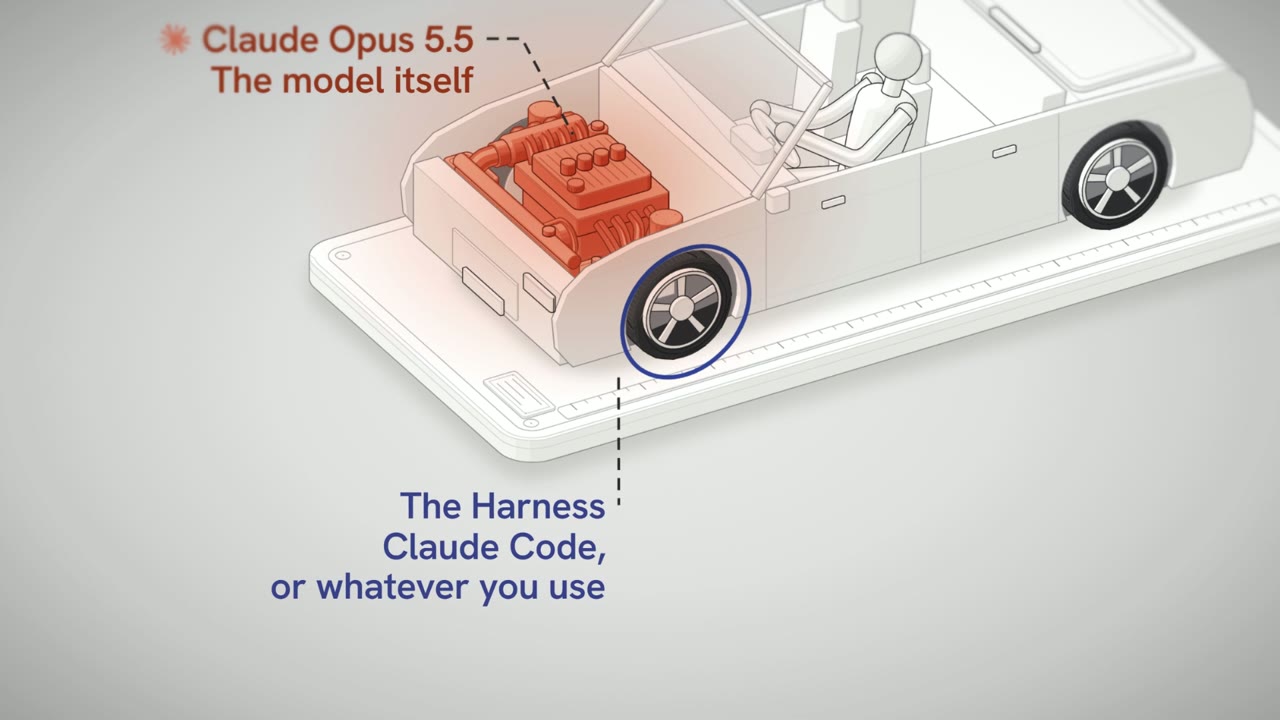
"The engine is Claude Opus 5.5 itself, the wheels are the harness…"
A diagram labelled part by partEach label lands as its part is named.
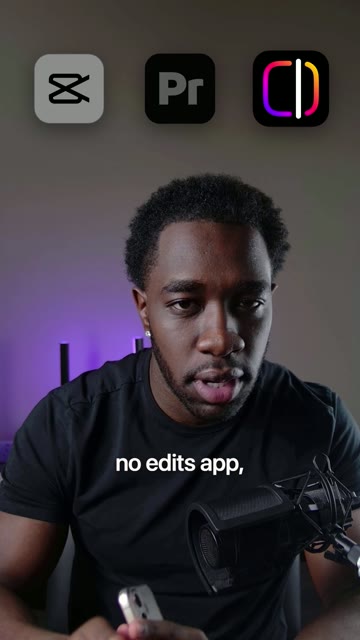
"No CapCut, no Premiere Pro, no Edits app, nothing."
Real logos, named one by oneEach app lands as I say it, then they all fall.
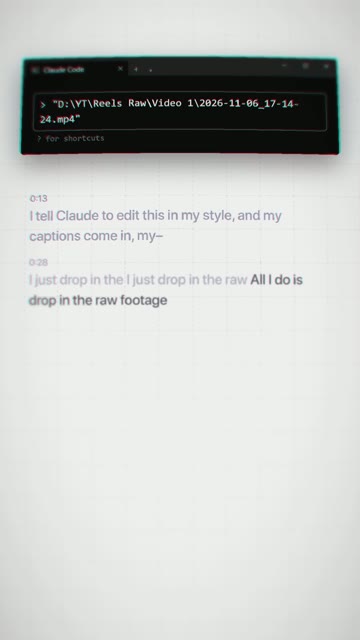
"All I do is drop in the raw footage with the bad takes still in it."
The real material, markedThe raw file's real transcript, its bad takes struck.
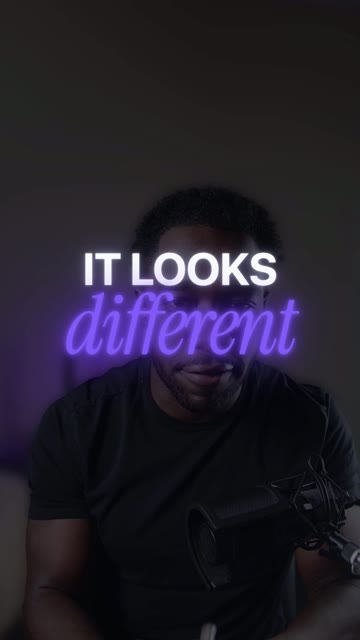
"So it looks different to every other AI edit."
A held punchlineThe room stops down. Two words, held.
Three rows of the plan for one of my reels, and the frames they became.
Do this
- 1
Put a song in
musicIf you want music. Claude finds the song's drop and lands it right after your hook, never using the song's own intro or ending, and keeps it under your voice.
Type /edit
Claude goes through your words line by line and picks a technique from your library for each line that needs one. The rest stays on you.
/edit
Approve the plan
Swap any technique you don't like, or drop a row. Then Claude builds it, checks every frame against your rules and renders a draft you can watch in the app.
Give notes
Anything that feels off, say it in plain words. Then
/learn, so it never comes back.Say it's done
Claude renders
final.mp4at full quality, with the loudness set for YouTube.Claude renders
final.mp4at 1080 × 1920, with the loudness set for Instagram and TikTok. Then/hook bfor the second version.
You'll have
final.mp4, your finished edit.
final.mp4, your finished reel, ready to post. And a second one with your other hook.
That's the whole system.
Every week I post what's next: sound effects that sync to the motion, graphics that build while you talk, and new techniques for the library.
A community for creators who edit with AI is on the way. You'll hear about it first, at the email you signed up with.